Search This Blog

Saturday 24 May 2014

Husqvarna 250 continued

I finally got to sew with the Husqvarna 250 yesterday morning.  I have to say I wouldn't go out of my way to own one but I have certainly sewed with worse machines.  It certainly has a range of stitches, both functional and decorative.  My stitch sample can be seen below.


The tension isn't perfect, I know but after sitting in the shop for a few days so many children will have 'adjusted' the tension that there is no point in me perfecting it.

Much to my surprise this machine came complete with most of the original accessories.  All of the original feet, the brush and throat plate remover (in one), the light bulb holder, spare spool pin, spool holders, clearance plate and one bobbin were remaining.  And the instruction manual of course (if anyone would like a copy, let me know).


It also came with the hard cover and the flat-bed was still with the machine.  Flat-bed attachments have a frustrating tendency to go walkabout.

Thursday 22 May 2014

Janome and Husqvarna 250

I've had a long absence due to occurrences beyond my control.  However, last Saturday I had these two machines to work on.  I haven't sewn with either yet, depending on what happens I should be able to get to it on Saturday.

The Husqvarna is an Electronic model 250.  I can't easily take it apart but there was a big knot of thread in the bobbin area.


This machine is white and very reflective so it took very bad photos, I might try it outside on Saturday.


The other machine (and apparently they did come from the same owner) is a Janome.  It doesn't seem to have a model number but looks like it's somewhere between lovely old Janome and modern less than lovely Janome.  This one has some plastic cams.


Under the faceplate is pretty standard.


Interestingly this has one of the throat plates that automatically adjust for straight stitch or zigzag.


The bobbin area was slightly fluffy and it's a full-rotary machine as well.


From the front and showing stitch selection.


Hopefully I'll be able to get both these machines out for sale this week end!

Wednesday 7 May 2014

The Best Laid Plans......

I got to try the Janome from the last post this afternoon.  It didn't work out quite as planned.  I threaded the machine up and put some material under the foot before turning it on (side note, if you haven't tried a machine before, always put material under it before turning it on, if you have a pedal problem and it sews instantly you won't end up with a thread-lock made in hell).  I put my foot down and the machine started sewing, it was then I noticed the light wasn't on so I took my foot off and reached for the light switch.  The light went on no problems, so unfortunately did the machine, the only thing was my foot wasn't on the pedal.  I learnt the hard way, always plug your machines in so you have easy access to the connection, if using an extension cord make sure you can get to the end your machine is plugged into easily.  In this case I could just turn around and turn the socket off - I didn't even miss a word in the conversation I was having at the time!  If you've seen it enough times you'll know if you get to the power quick enough you don't usually get smoke and the most disgusting smell.  The first time it happened to me I stared at the machine sewing by itself and was brought back to Earth by the plume of smoke wending its way from the pedal.  Not my most intelligent moment!

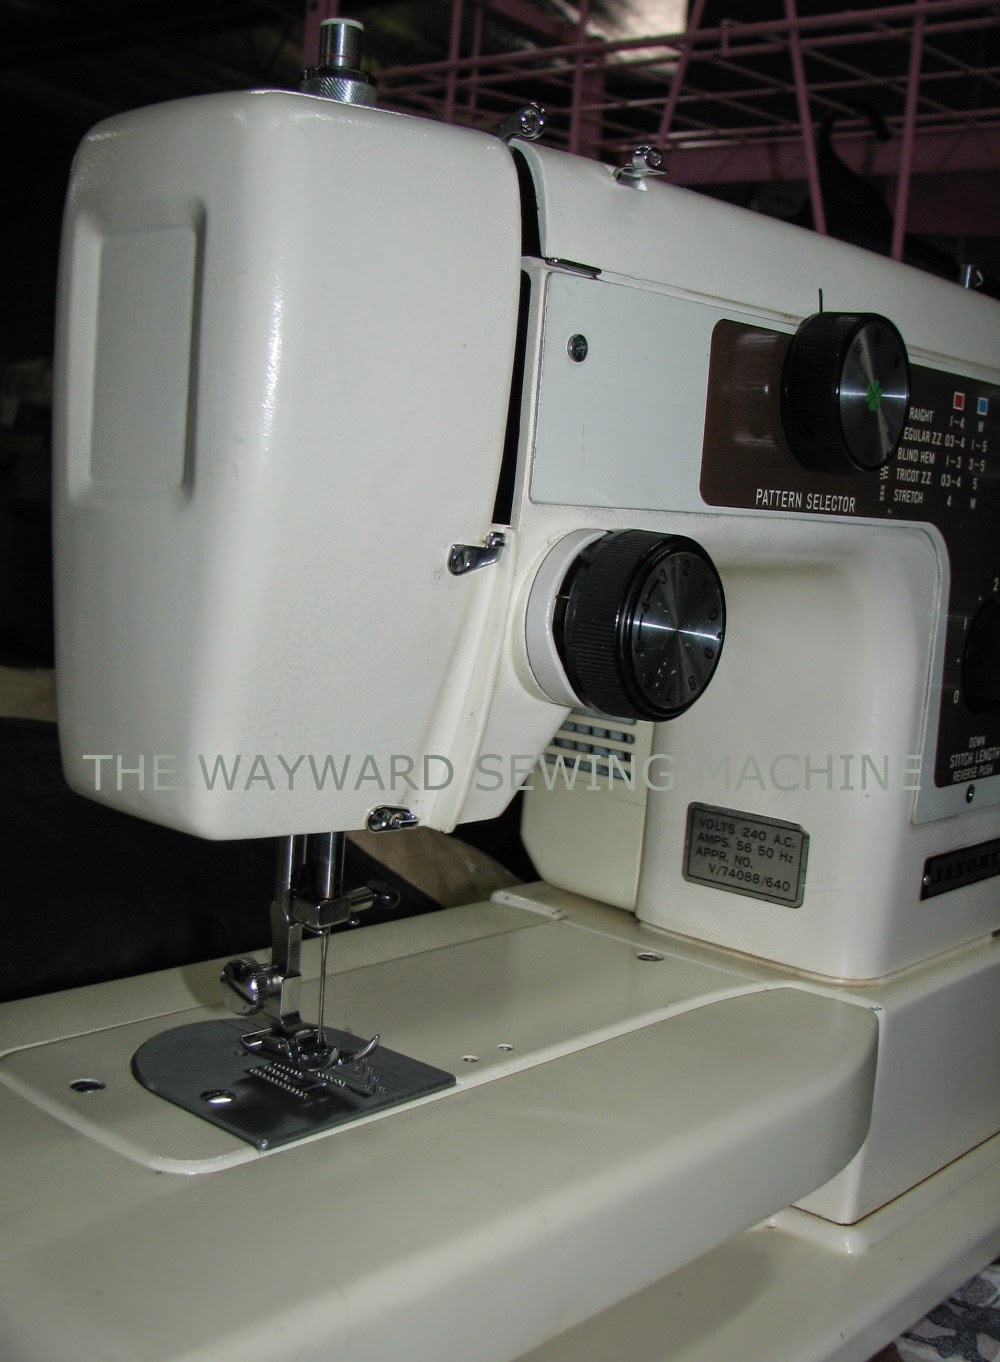
Anyhow, here are some pictures.


The copper contacts control the amount of electricity going through the carbon pile which is filled with graphite discs.  The copper contacts are positioned by prongs that are moved by putting pressure on the pedal.  When the pedal is fully depressed all the contacts are touching thus full capacity of electricity can flow through.  The blue arrows mark the approximate path of the electricity.


In order to get the capacitor out, you need to remove the two screws outlined in red.  As can be seen above the capacitor doesn't look too healthy.

Once out you will have this:


As you can see above the plastic casing is ruptured and discoloured.  I am hoping to get a new capacitor for this machine as it looked very promising before this!

After leaving work this evening we saw the most incredible cloud and I took some photos, one of which is shown below.


Monday 5 May 2014

Finished Projects

Today I'm showcasing two finished projects!

The first is the blue shirt I was making on the Godfrey, it fits very nicely and I really like it!

From the front

Close up of collar and buttons

Close up of sleeve slits
These were the first sleeve slits I had made and I was very happy with how they turned out.  I made the buttonholes on a Singer buttonhole attachment for straight stitch machines but not with the Godfrey.  The Godfrey decided buttonhole attachments were simply awful and made its feelings felt.  I ended up using an Alfa instead.

The second finished project is the blue rose print top.  I bought the material just over a year ago, knowing exactly what I wanted to make with it, it just took me forever to get around to it.  I used an old Style pattern (the number of which escapes me) but added buttons down the front and contrasting binding on the sleeves.  I know it looks really shapeless but when it's on it isn't as bad.  I wear it with a belt or tucked into my trousers.

From the front

Buttons

Binding and the best likeness of the actual material!
I know I never posted pictures of the finished Galactic Satin dress, maybe I'll get around to that too!

Saturday 3 May 2014

Another Janome

This morning I spent looking at the machine I got in on Thursday.  As the post title implies it is another Janome.  It's nothing all that fancy but comes with a flat-bed, hard cover, button-sewing foot, clear foot and rolled hemmer.  Considering they normally come minus accessories, flat-bed and cover I'm rather pleased!  The cover was filthy and looked like it had been sitting in a shed however much to my surprise the machine was fine.  There wasn't a speck of dust under the faceplate or top cover.


There is quite a bit of plastic in the machine, as can be seen below.


In order to get to the bobbin gears one has to take the free-arm cover off and then the gear cover.  I couldn't get the gear cover screws off and ended up cautiously prising one corner up just enough to check the gears weren't cracked and then bending it back down again.  In the image below the red circles are where the screws need to be removed to access the gears.


Once cleaned the machine looked very nice from both front and back.


(Did I mention it is dark where I work??!)

The stitch selection knobs are below.  I haven't actually sewn with the machine yet as I had other jobs to do but I hope to on Wednesday.


In other news, I ended up using the Janome XL-II for a project at work the other day.  I had to adjust the contacts in the pedal to get better speed control but once I did that she was a joy to use.  It is such a pity about her cracked gears, I really love her!

Thursday 1 May 2014

A New Shirt

I am desperately in need of 3/4 length sleeve shirts.  I find they are the best at this time of year.  However I don't have a lot of time to actually make any but last week I finally made one.  I used Butterick 6085 which I have had for years and made in 3 sizes.  Size 8 normally fits me best but I wanted a looser shirt so that I could move in it, so I made a size 10.  The pattern has a range of views, mostly just added to the same pattern pieces so I was able to mix and match with ease.  I made the 3/4 length sleeves and put darts in the back but none in the front.  I really don't like the curved hems on shirts, I tuck my shirts into my trousers and wavy hems always escape.  So, I evened out the pattern edge as well.


Unfortunately my Dad borrowed my camera before I finished the shirt, so I have some pictures of the construction but not many.  Below is the pattern envelope.


I have lately been watching Peter and his skill in shirt making and as I normally have difficulty getting a nice collar I decided to be really careful like he is.  I even marked the turning points for the stitching of the collar pieces!


I have to say it turned out much better than usual, all the pieces were the same length when I'd finished too!


For sewing I used the Godfrey, a Singer 15 clone.  It is not working quite right, I think something is wrong in the bobbin area.


As I am a very shirt loving person I also wear vests on top when the weather gets colder.  I was given two of my Grandmother's vests last year and only got around to washing them today.  I think they are beautiful!


In other news, I got a new machine at work yesterday, so tomorrow I should be able to post pictures of that too.